To efficiently manage your scheduled routes, it’s ideal to handle everything from a single location. The best spot for this is the Route Admin tab within the Scheduling section. Here, you can add new jobs to a route, modify existing ones, rearrange jobs in the delivery sequence, and even optimise the entire route.
Video Walkthrough
An overview video of the Route Admin tab can be found below:
Adding new jobs
Navigate to the Route Admin tab in the Scheduling section.

Next, click the New button.

Enter the following compulsory fields:
- Company – Use the … button to search for and select the site that this job is for.
- Route – Use the … button to search for and select the route that this job is going to be completed on. Once you have selected a site, you can click the map button to see nearby sites.
- Day – The day on which this job is scheduled to be completed.
- Period – The delivery period during which this job is set to be completed. See Understanding Delivery Periods for more information.
- Sequence – The position of this job in the list of scheduled jobs.
- Duration – The estimated time, in minutes, required to complete this specific job.
Once you have entered all of the details, click the Save button. Your job will be saved, ready to have items allocated to it. The job will also appear on the Site Delivery tab for the selected site.
Allocating Items
Navigate to the Route Admin tab in the Scheduling section.
Next, use the search filters to find your job. Then, select the Items tab followed by the Live Items tab.

With the Live Items tab selected, the currently allocated items will be displayed on the left and currently unallocated items will be displayed on the right.

In the Unallocated Items grid, select the item(s) that you want to Allocate. You can select multiple at once.
The item(s) will now move from being Unallocated on the right to Allocated on the left.
Moving jobs up and down in the sequence
Navigate to the Route Admin tab in the Scheduling section.
Next, use the search filters to find the route that your job is on.
Once you have found your job, select it in the grid. Then press the up and down arrows to move it in the sequence.
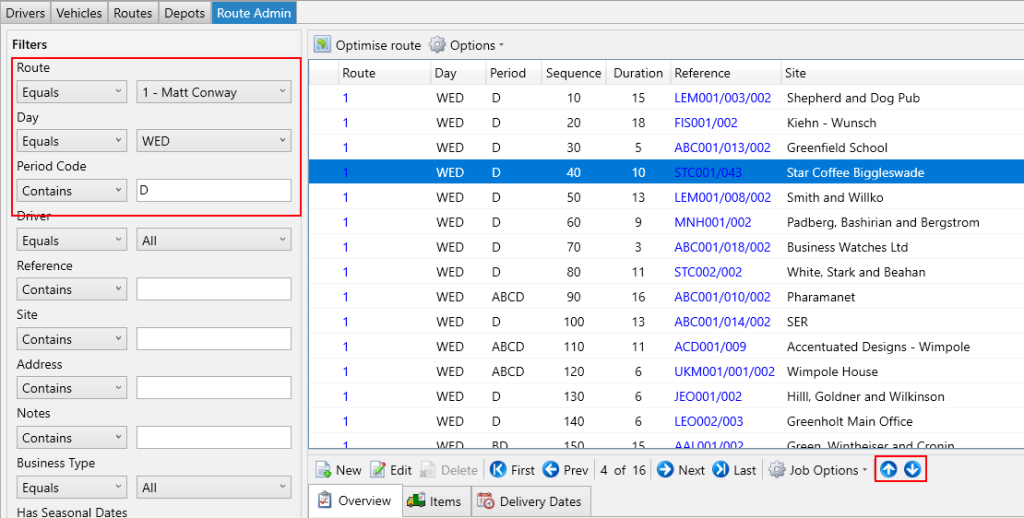
After clicking an arrow, you will be prompted if you are sure you want to move that job in the sequence, click Yes.
Optimising a route
A detailed article specifically for optimising a route can be found on the Understanding Route Optimisation page