Leads allow you to record and track potential customers before they become full clients. You can capture their details, assess their interest level, and convert them into agreements when ready.
This guide explains how to add a new lead and what each step involves.
Add a Lead
1. Open the Leads Area
- From the Home page, navigate to Leads in the main menu.
- You will see the leads page.
- To view any existing leads, press the Search button — otherwise, the page will appear empty.
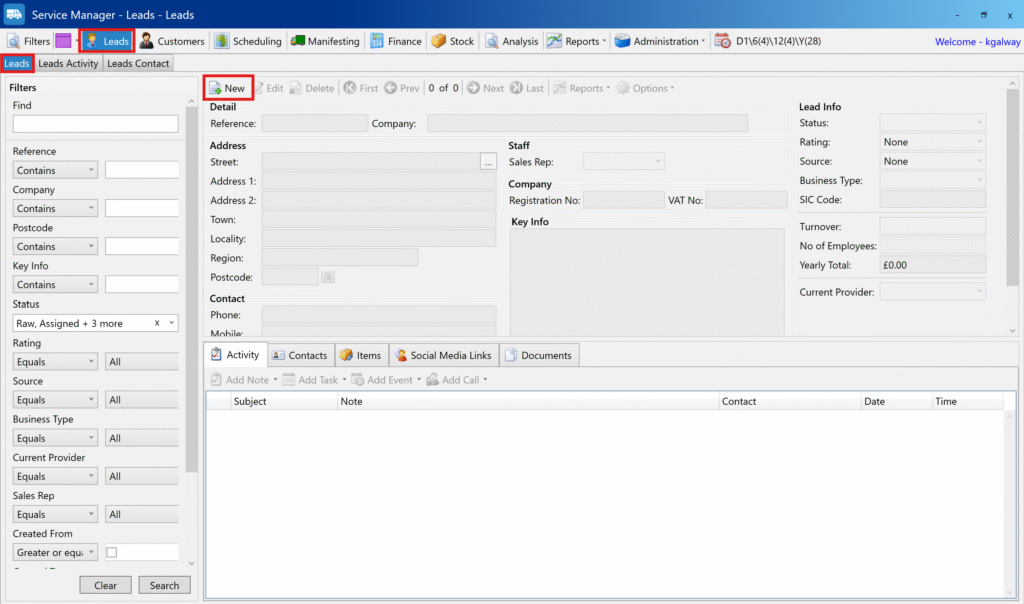
2. Click ‘New’ to Create a Lead
- At the top right, click the New button.
- This opens the first part of the lead creation form popup.
3. Fill in Company Details
The Reference field is automatically generated for you.
You can use the Search field to search for an existing company or address to auto-fill details if available, otherwise fill in the following mandatory fields:
- Name — enter the company name.
- Street
- Postcode
You can also add any additional notes about the lead in the Key Info field.
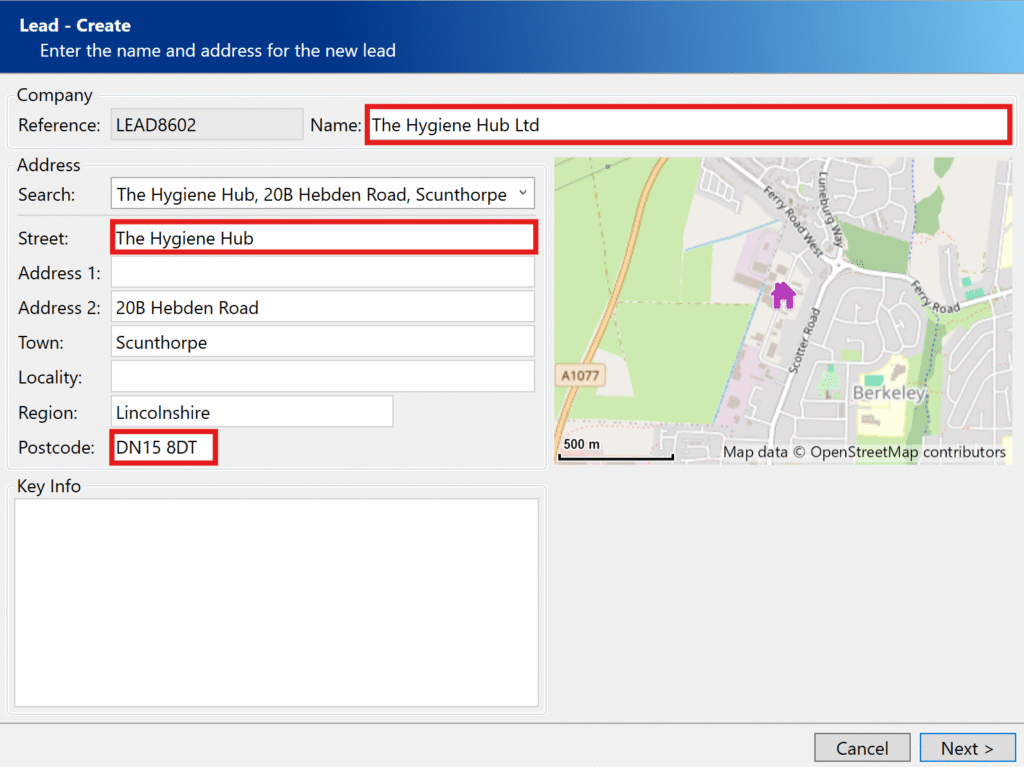
When done, click Next.
4. Enter Business & Interest Details
On the next screen, enter more specific information about the lead:
- Registration No — The company’s official registration number, if applicable.
- VAT No — The company’s VAT number for tax purposes.
- SIC Code — Standard Industrial Classification code that describes the business activity.
- What type of Business is this? — Choose the business category that best describes the company.
- How interested does this lead appear to be in signing up? — Rate their interest level (e.g., Hot, Warm, or Cold) to help prioritise follow-up.
- Where did this lead hear about us from? — Select the source of the lead, such as referral, website, or event.
- What is the turnover for this lead? — Enter their estimated annual revenue, if known.
- How many employees does the lead have? — Approximate number of staff at the company.
- Current Provider — Name of the company they currently use for similar services.
- Who is responsible for selling this lead? — Assign the salesperson who will manage and follow up the lead.
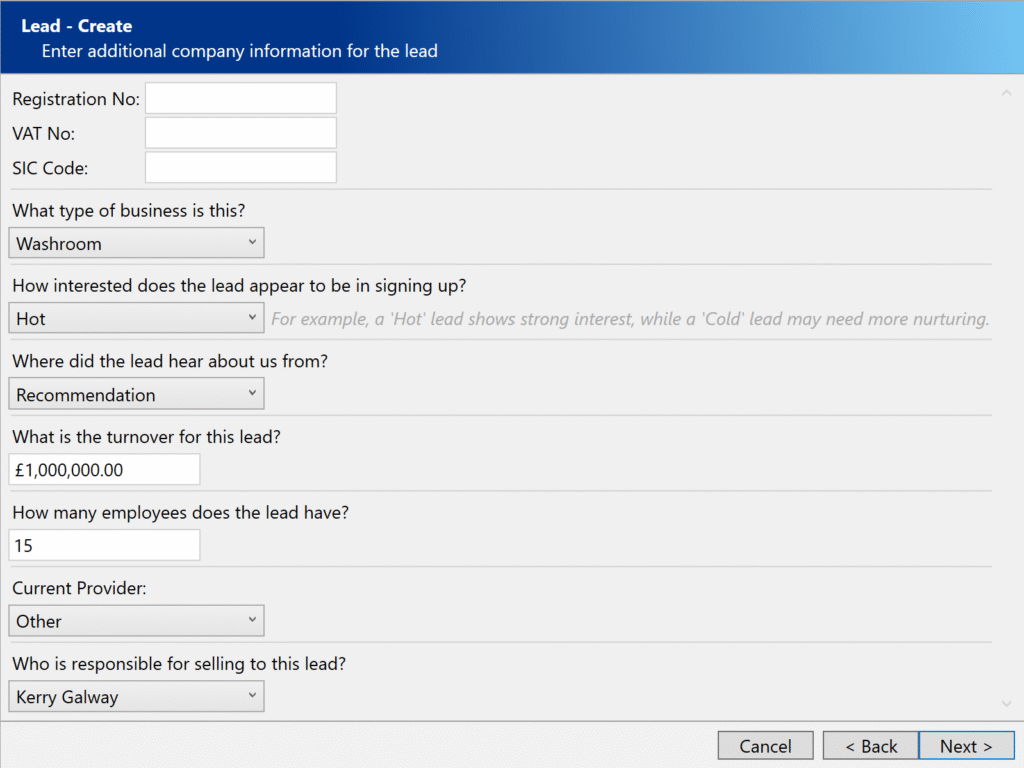
Click Next when complete.
5. Add Contacts
On the last screen you can:
- Add one or more contacts for this lead.
- Search for existing contacts or add new ones.
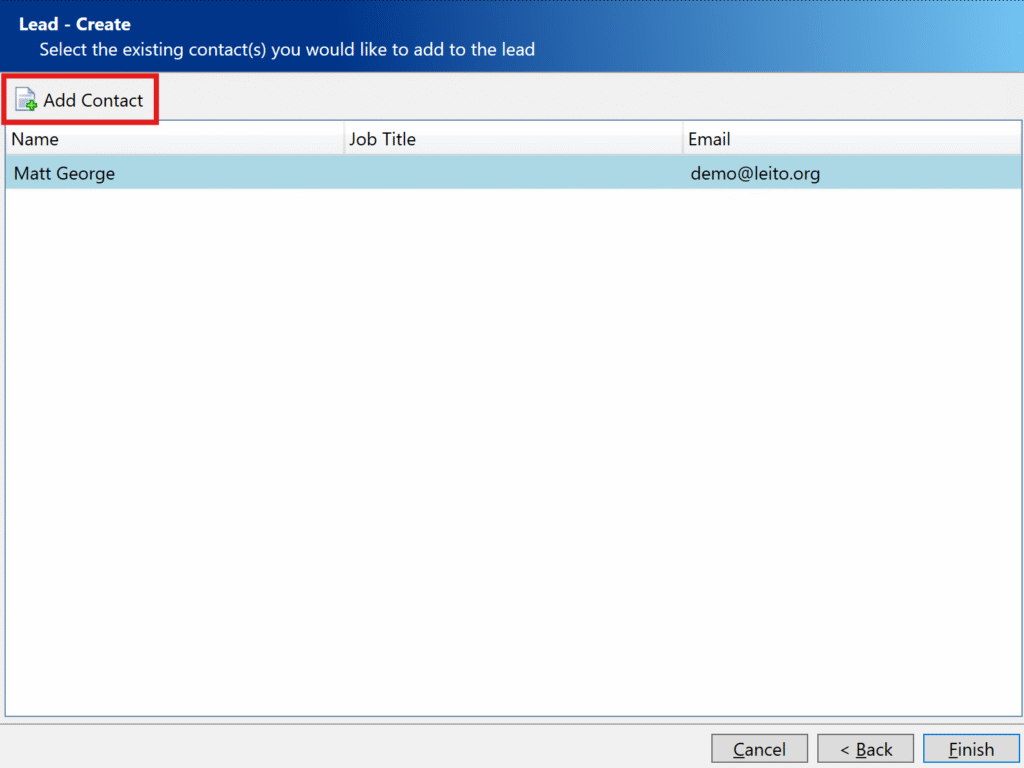
When done, click Finish.
Notes & Tips
- Fields marked as mandatory (Name, Street, Postcode) must be completed before you can move to the next step.
- You can edit a lead at any time by selecting it in the leads list and clicking edit.
- Use the “interest level” and “where did they hear about us” fields to help prioritise your follow-ups.
- Once a lead is ready to progress, you can convert it into an agreement.
Next Steps
See also: How to convert a lead into an agreement