Before someone can login to Service Manager, you must create them a user record. You can then assign roles to that user to control what they can see and do throughout the system.
Creating a new user
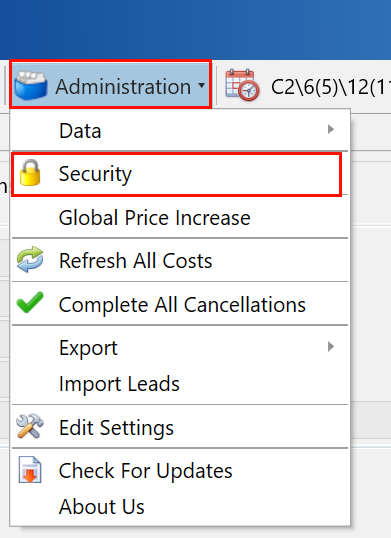
Use the Administration menu on the main toolbar and then click on Security.

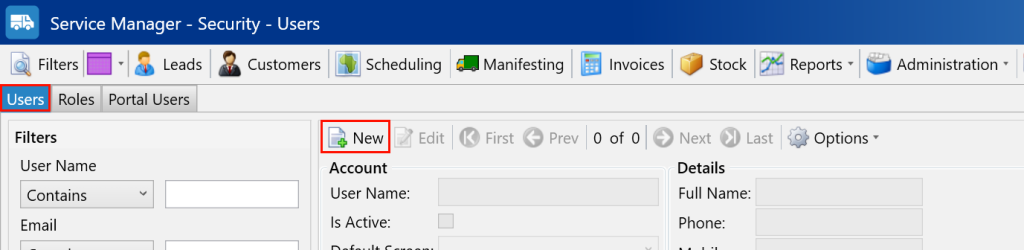
Next, navigate to the Users tab. Then, press the New button.
In the form, fill out all required details:
- User Name – This is what the user will use to sign in with.
- Password – The password for the user.
- Confirm – Confirm the password for the user, must match whatever has been entered in password.
- Full Name – The full name of the user, this will be used on reports.
- Email – The email address for the user, this will be used as their default notification address.
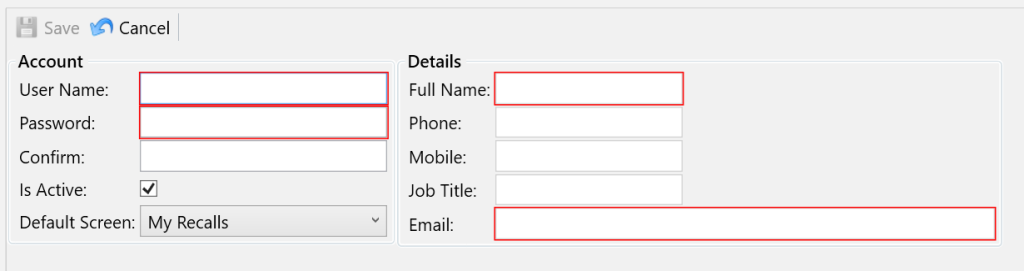
Once you have filled out all of the details, click Save.
Adding roles to a user
Use the Administration menu on the main toolbar and then click on Security.
Next, navigate to the Users tab and use the filters on the left to find the user for which you want to assign roles to.
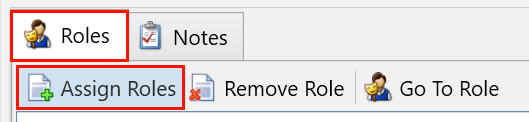
In the bottom grid, select the Roles tab. Then, click the Assign Roles button.
In the popup, select any roles that you want to assign to the selected user.
When you have selected your roles, click the Add button.
Removing roles from a user
Use the Administration menu on the main toolbar and then click on Security.
Next, navigate to the Users tab and use the filters on the left to find the user for which you want to assign roles to.
In the bottom grid, select the Roles tab and highlight the role you want to remove in the grid. Then, click the Remove Role button.

You will be prompted if you are sure you want to remove the selected role, click Yes.