Every item in Service Manager is based around a stock item record. After creating your stock items, they can be included in agreements, invoices, and driver schedules.
Creating a sub category
Before we create a stock item, we may want to create a new sub category to assign the new item to. Sub categories allow you to organise items and affect how the stock items function.
To create a sub category, navigate to the Sub Categories tab under the Stock section.

Next, click the New button.
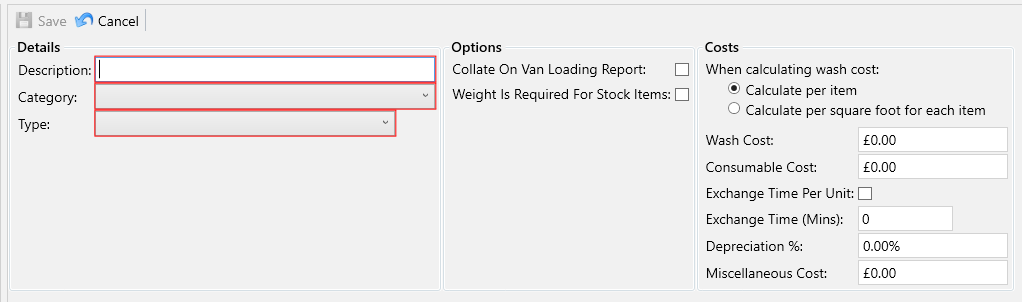
Enter the following compulsory fields:
- Description – The description of this sub category.
- Category – The main category for this sub category.
- Type – This determines the item type, this will affect how the item is manifested and invoiced. A brief description of the different types can be found below:
- Delivery – A delivery item can be scheduled as part of the regular work, this would usually be for things like Feminine Hygiene Bins, Mats and other items that get serviced regularly by the drivers.
- Static – A static item is something that you would maybe install once and charge a customer a rental cost for, for example a wall mounted dispenser or a waste bin. These items will not be manifested as part of the regular work but you can still install and collect them.
- Service Only – A service only charge is a recurring charge that does not get manifested. You would use this for scenarios where the customer owns their own equipment and they are paying you to service it.
- One-Off – A one-off item is a chargeable service that only gets invoiced once. You would often use these to charge for something like an installation fee at the start of a customer’s agreement.
Once you have entered all of the details for your new sub category, click the Save button. You will now be able to assign stock items to your new sub category.
Creating a stock item
To create a stock item, navigate to the Stock tab under the Stock section.

Next, click the New button.
Then, in the popup, choose a subcategory for the stock item and fill in any additional optional details. At the bottom, you’ll notice a stock code has been automatically generated, and a description will be created as you enter details. You will have the opportunity to modify both the stock code and description in the following step.
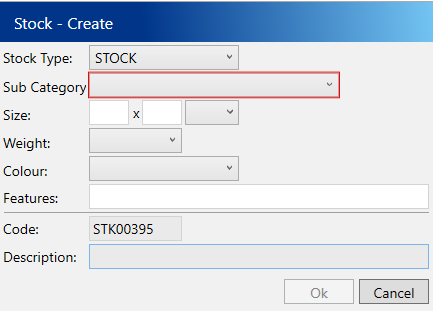
Once you have entered the details, click the Ok button.
The popup will close, and the details that you entered will now be shown on the main form. You can now enter additional details such as waste information and the costs for this specific item.
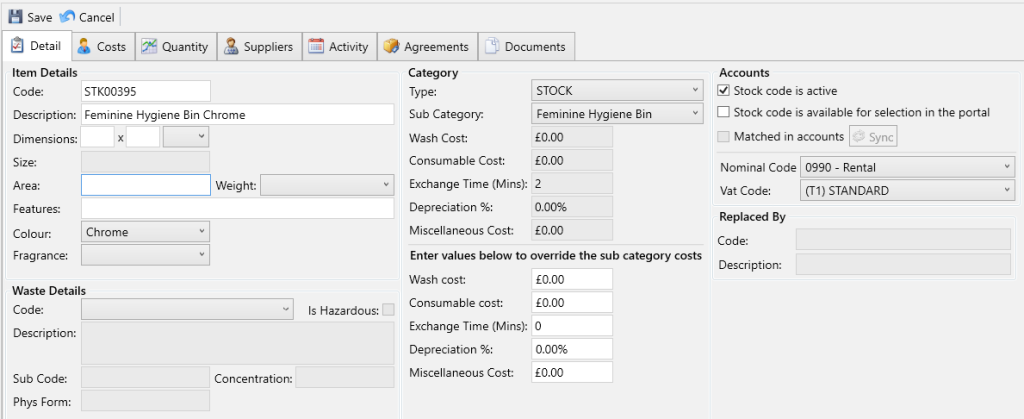
Once you have entered all the details for this stock item, click the Save button.
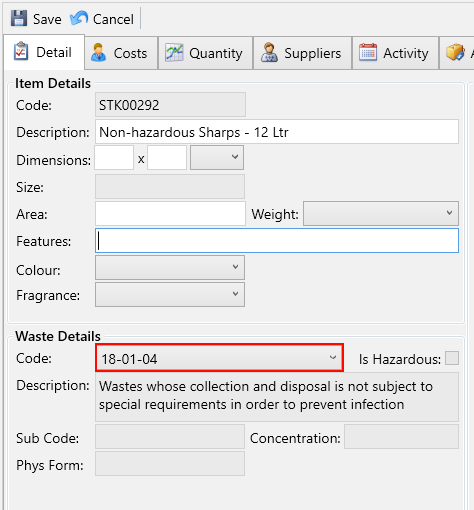
Assigning waste details
In the Waste Details section, select the appropriate waste code for this item from the dropdown menu.
Next, navigate to the Quantity tab and make sure the following fields are configured correctly for this item:
- Unit Quantity – Specifies the volume for each item, which will be used in the waste section of your service receipts.
- Unit Measure – Defines the unit for the specified volume.
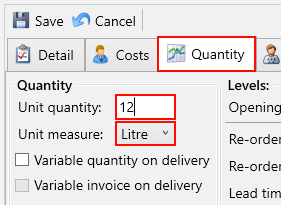
Accurate settings for these fields are crucial for the proper generation of waste documents.
Click the Save button.