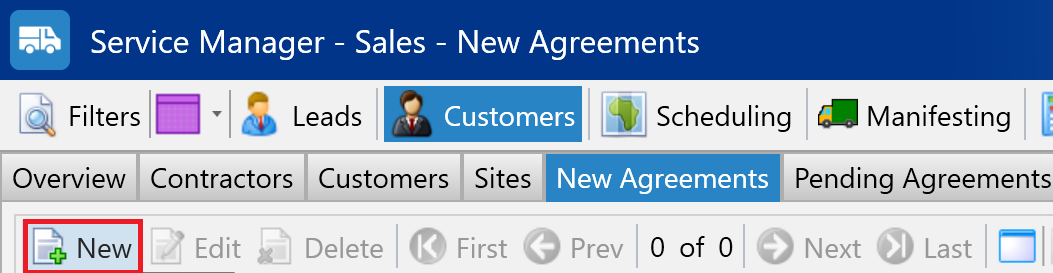
All agreements begin in the New Agreements tab under the Customers section, allowing you to create new agreements for both new and existing sites.
Navigate to the New Agreements Tab. Then, click the New button.
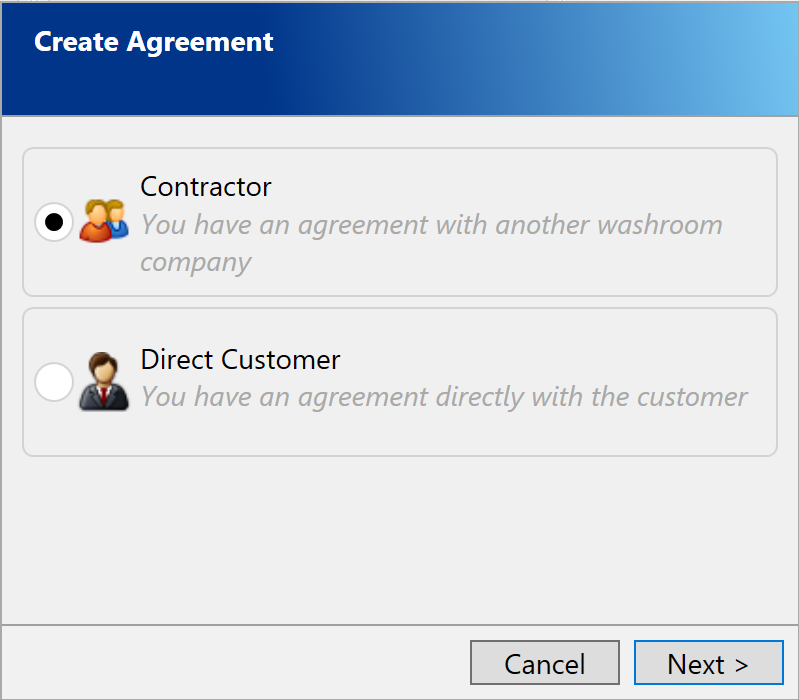
The Create Agreement popup will appear. Here you can choose between setting up a Contractor or a Direct Customer.
On the next page, you can select an existing Contractor or Customer by using the dropdown list or using the search button. You can also create a new Contractor or Direct Customer by clicking the Create New link.
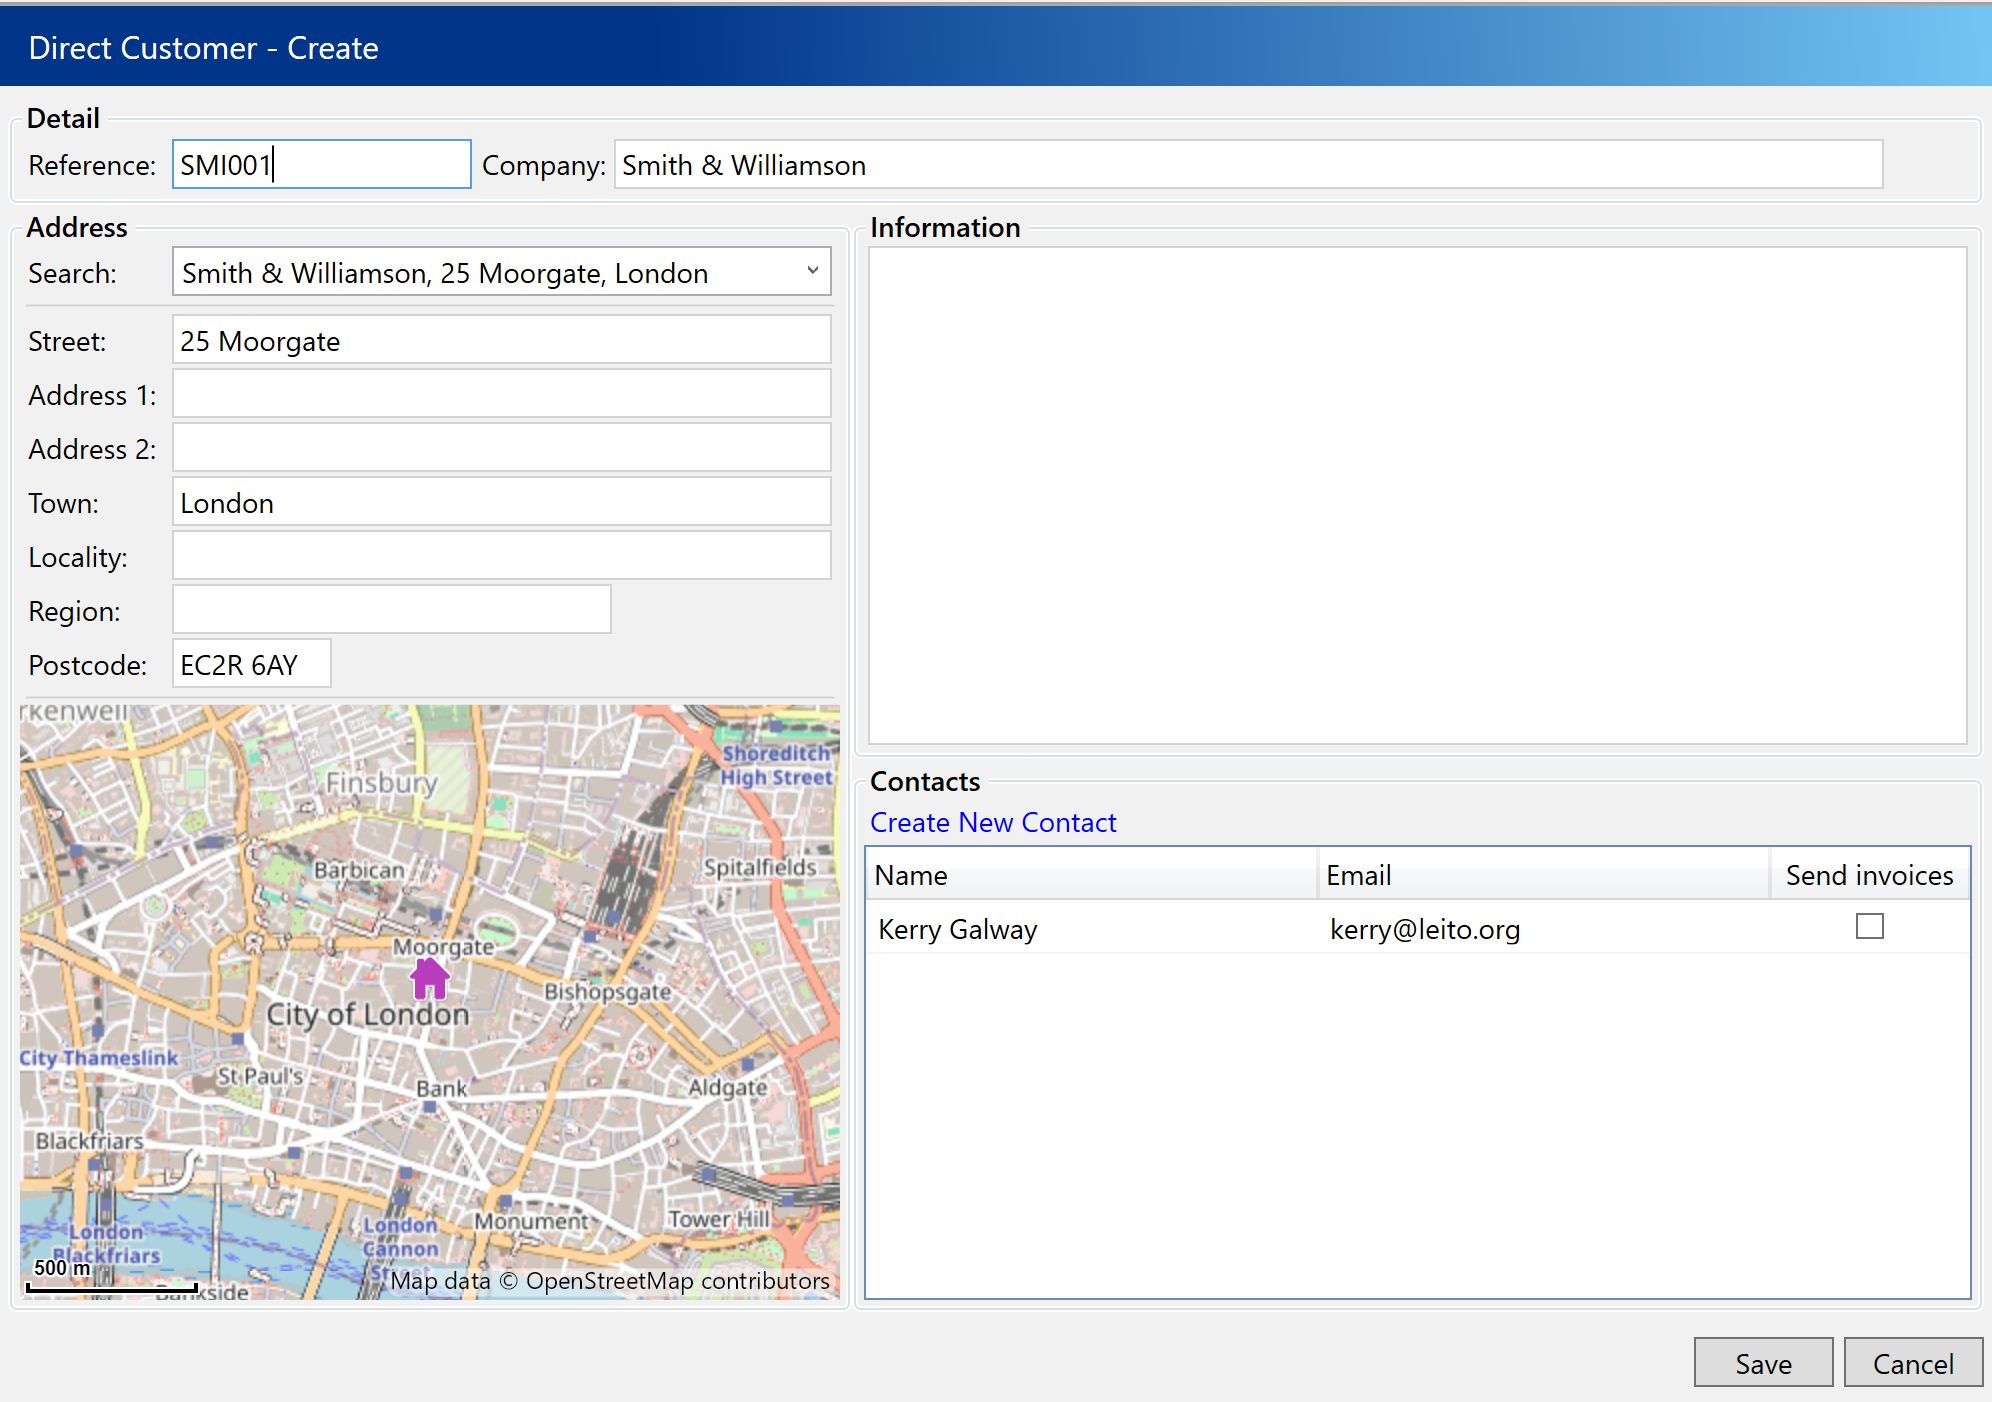
If you clicked “Create New” you will see the page above. Here you can either manually enter the company address information or use the search box to lookup the address. Make sure you add a site Reference and a Main Contact and then click Save.
Next you will see a popup asking if the site details will be the same as the customer, click “Yes” to copy the address details entered on the previous screen. Otherwise, click “No” to enter a new site address.
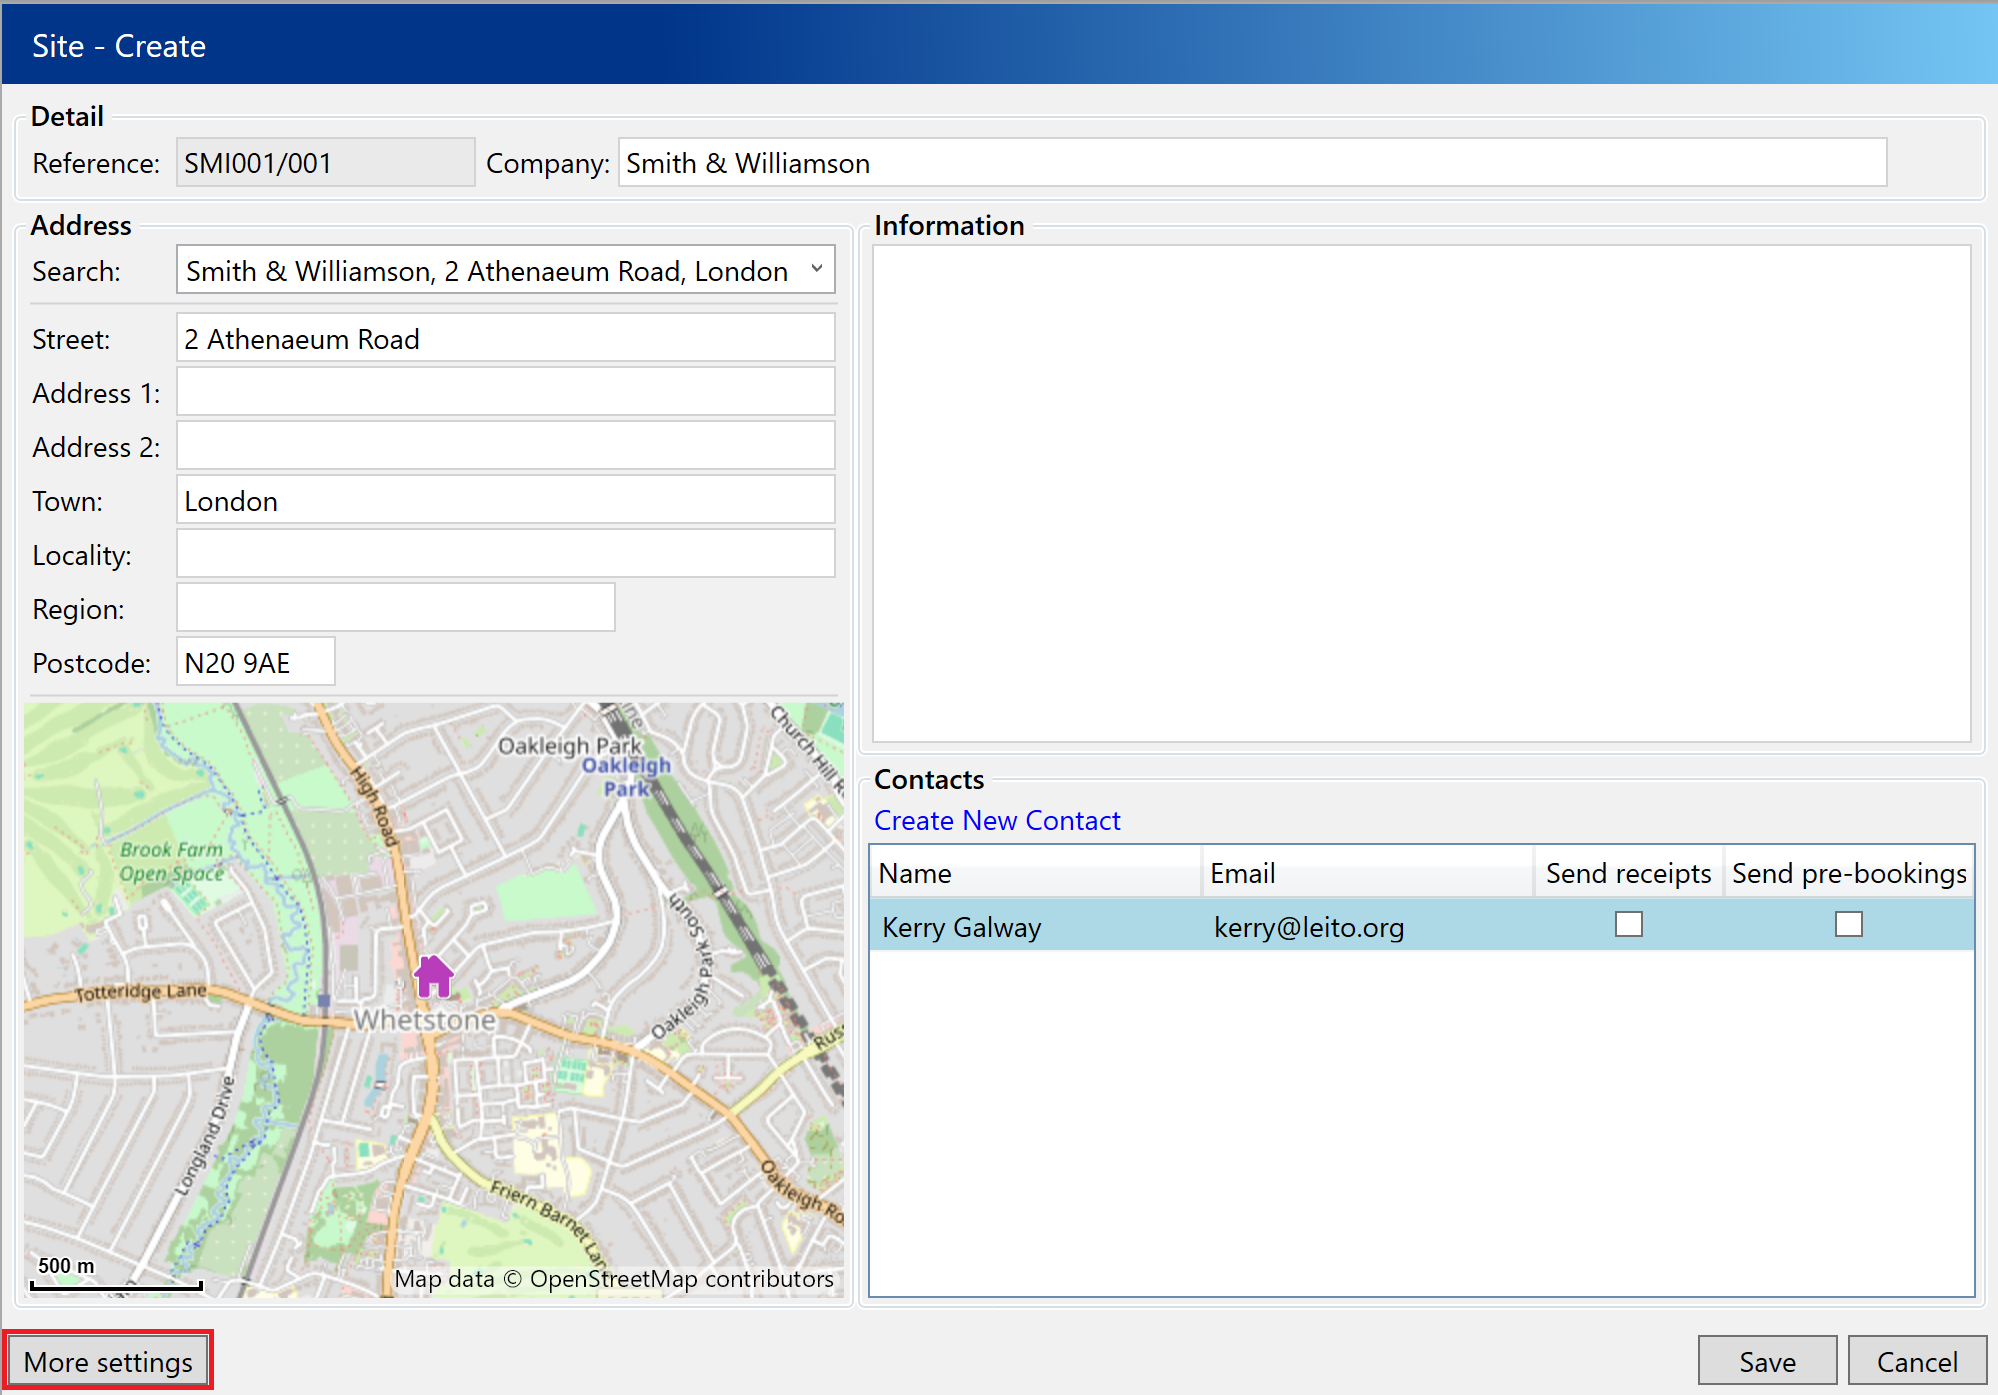
You will now see the create site page. If you clicked No on the previous screen you can now enter the new site address.
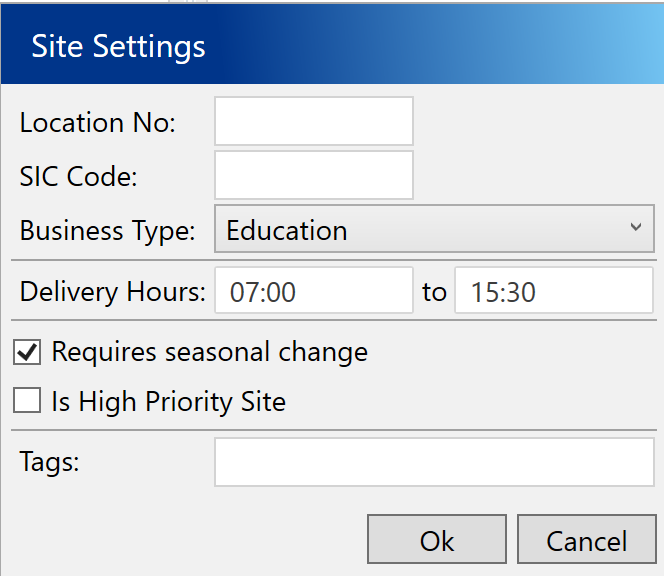
If your site has specific access times or seasonal opening hours for deliveries you can click the More Settings button and add these here.
After selecting or creating your site, press the Save button to return to the Agreement page, then click Next.
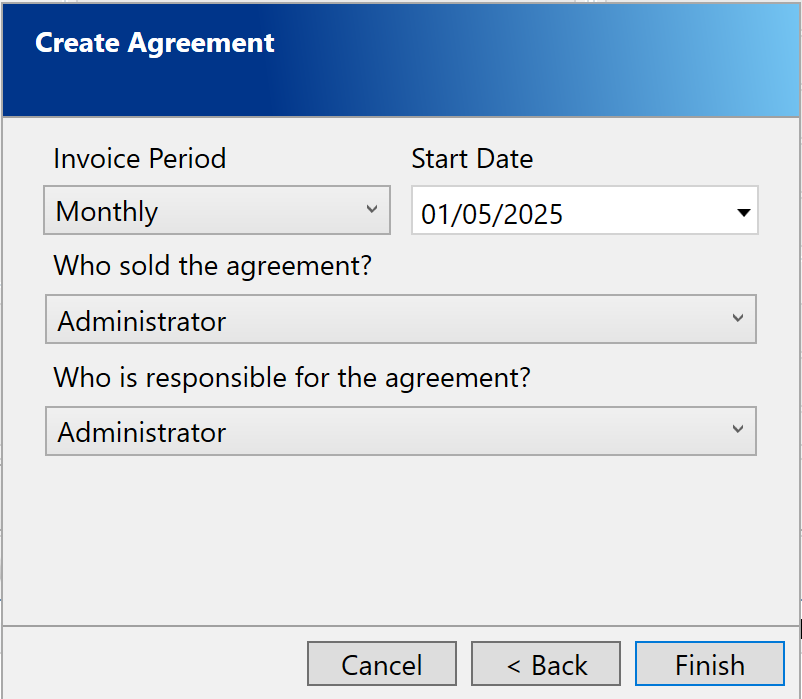
On this final page you can select your Invoice Period and Start Date for the agreement. You should also assign a member of staff as responsible for this agreement.
- Invoice Period – The frequency of invoicing for this agreement. If the agreement is for an existing contractor or direct customer, this will default to the period specified for the Invoice Account.
- Start Date – The desired start date for this agreement.
Click Finish, the popup will now close and your new agreement will be displayed on the screen ready to have items added to it. For more information on adding items to an agreement, see How to add an item to an agreement.