The Route Admin screen is used to manage scheduled delivery routes in one place. From here you can add new jobs to a route, edit existing ones, change the delivery sequence, and allocate items.
To open Route Admin:
- Go to Scheduling
- Select Route Admin

The screen is split into two main sections:
- Top grid – displays the list of scheduled route jobs
- Bottom panel – shows details and item allocations for the selected job
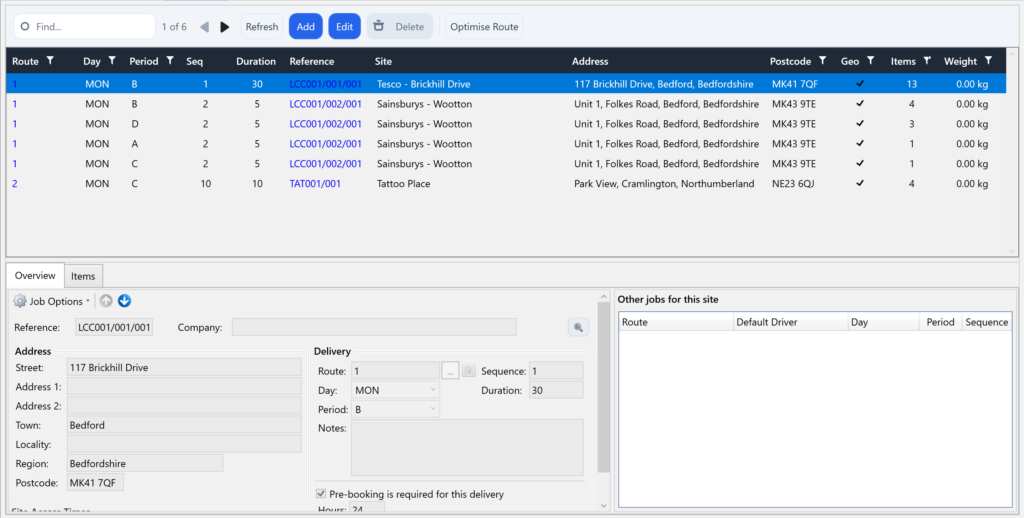
Unlike previous versions, filtering is now done directly within each column of the grid (similar to Excel). This allows you to filter by multiple routes, days or delivery periods at the same time.
Finding jobs
Use the filter options at the top of each column to narrow down the jobs displayed in the grid.
For example, you might filter by:
- Route
- Day
- Period
Each column filter also supports multiple selections, allowing you to view several values at once.
For example, in the Period column you could select A, B, and 12(1) to display jobs from all of those delivery periods in the grid at the same time.
Multiple filters can also be used together, making it easier to view the exact combination of routes, days and periods you need.
Adding a new job
- Open Scheduling → Route Admin
- Click Add above the top grid
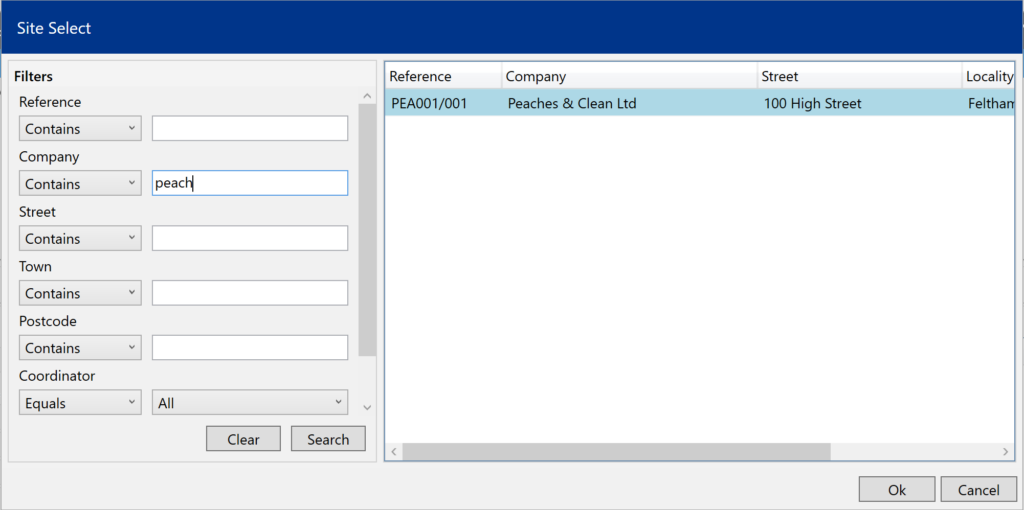
The site selection window will open automatically.
- Search for and select the site the job is for.
Enter the remaining required details:
- Day – the day the job is scheduled to be completed.
- Period – the delivery period the job belongs to. See Understanding Delivery Periods for more information.
- Sequence – the position of the job within the route.
- Duration – the estimated time, in minutes, required to complete the job.
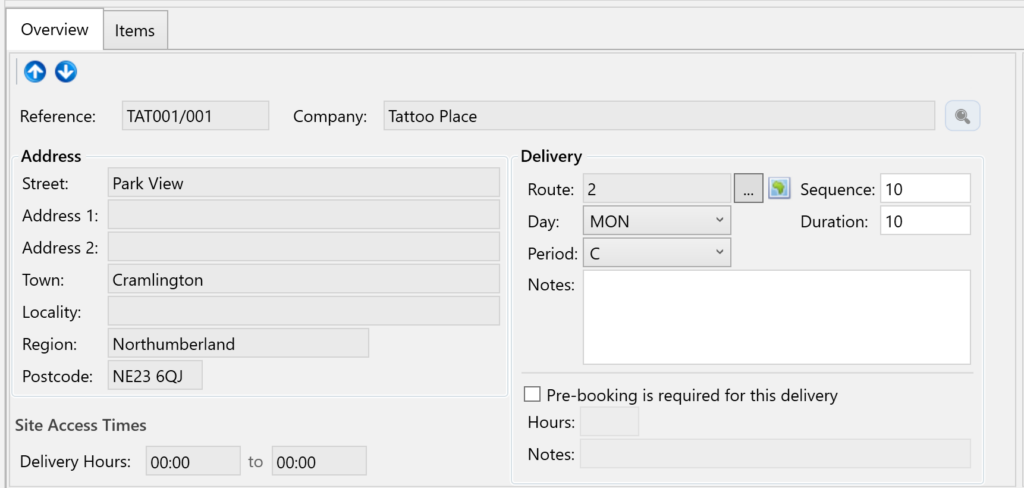
Once you have entered the details, click Save.
The job will now appear in the Route Admin grid and will also be visible on the Site Deliveries tab for that site.
Editing a job
- Find the job in the top grid
- Select it
- Click Edit above the grid
The job details will appear in the bottom panel, where you can make changes before saving.
Allocating items to a job
- Find and select the job in the top grid
- In the bottom panel, open the Items tab
- Select either:
- Live Items, or
- Pending Agreement Items
The screen will display:
- Allocated Items on the left
- Unallocated Items on the right
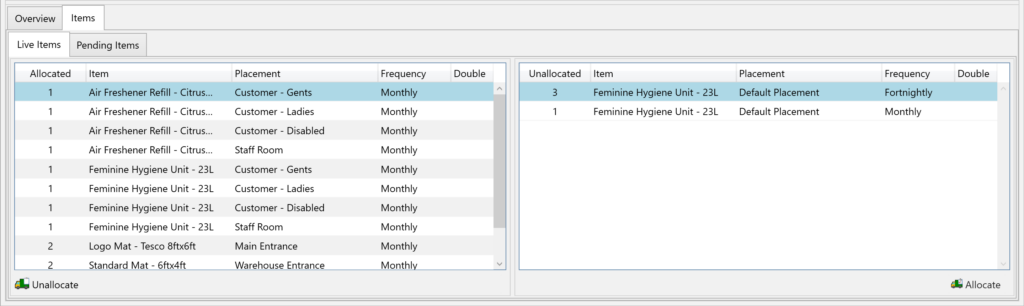
To allocate items:
- Select the item(s) in Unallocated Items
- Drag and drop them into Allocated Items
Alternatively, select the items and click Allocate on the toolbar.
To remove items from a job, drag them back to Unallocated Items or use the Unallocate button.
Changing the job sequence
To move jobs up or down in the route order:
- Filter the grid so you are viewing a single route, day and period
- Select the job you want to move
- Use the Up or Down arrows on the toolbar
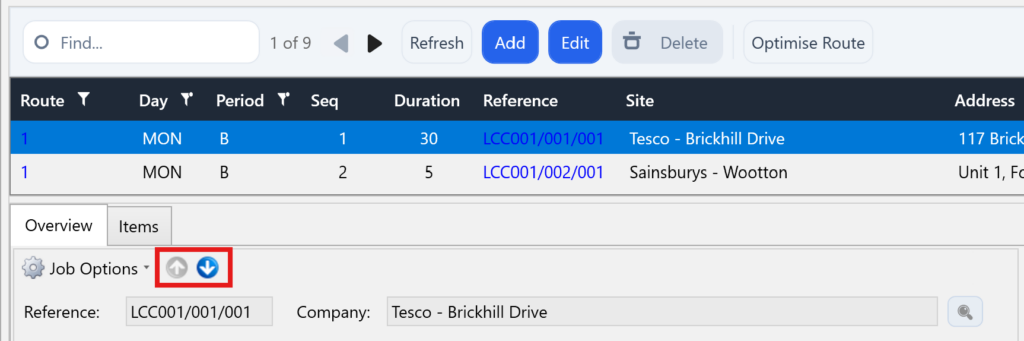
You will be prompted to confirm the change before the sequence is updated.
Optimising a route
For information on automatically optimising the order of jobs within a route, see the Understanding Route Optimisation article.