The Placement Wizard makes it easier to allocate placements to agreement items. Instead of manually assigning quantities to each placement one by one, you can add your placements and then drag them into place.
You can access the Placement Wizard by navigating to Site Delivery and clicking Options, Placement Wizard.
1. Add your placements
Placements are added in the right-hand panel.
You can either:
- Add placements manually, or
- Paste a list of placements
To do this click Options and choose either Add or Paste.
Each placement you add will appear in the list ready to be allocated.
2. Select the item
In the left-hand panel, select the item you want to allocate placements for.
This shows the item details, including:
- The total quantity
- The service frequency
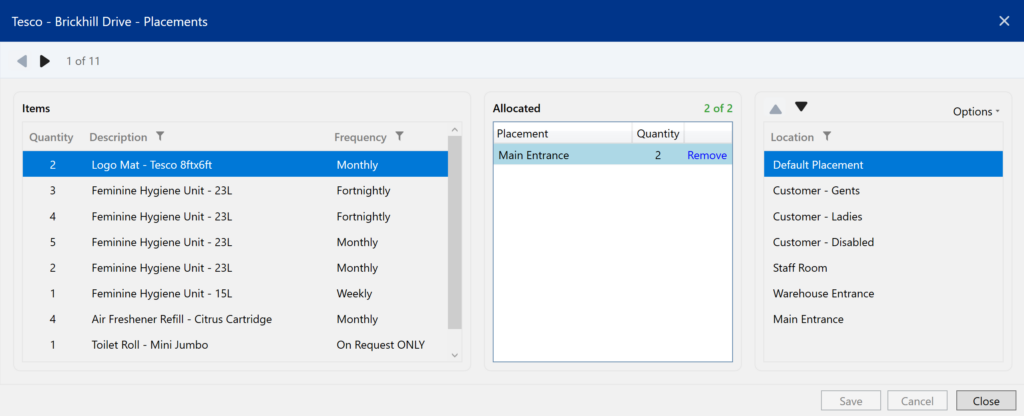
3. Allocate placements
The centre panel shows the placements that have been allocated to the item.
To allocate placements:
- Select the Item you want to allocate a placement to from the left-hand list
- Select the placement from the right-hand list
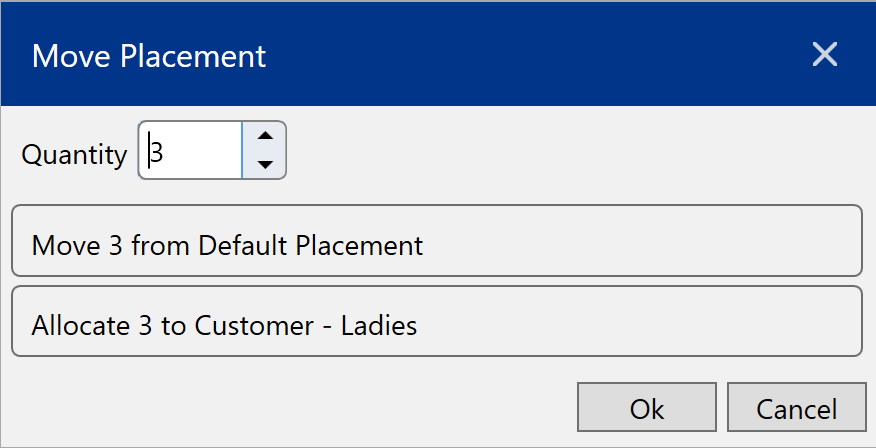
- Drag and drop it into the Allocated section in the middle
- Enter the quantity for that placement
Repeat this until the full quantity of the item has been allocated.
The wizard shows how many items have been allocated (for example 16 of 16).
4. Adjust or remove placements
If needed, you can change the allocation:
- Edit the quantity for a placement
- Click Remove to remove a placement from the allocation list
Notes
- The total allocated quantity must match the item quantity before saving.
- Placements are linked to the site and can be reused for other items as required.